Showing posts with label hops. Show all posts

Tuesday, July 21, 2015

Skeeter Pee Round 1: Final Post

I am going ahead and just making a new post instead of continuing the updates on the original Skeeter Pee post.

So here is the run down on what happened.  I got a little....adventurous. Being the first time doing this recipe I was content with following the directions explicitly.  Well I did...but then I didn't, and the results are amazingly, smooth, balanced, fruity, and delicious.

I waited until my hydrometer read 0.096 and racked into TWO 3 gallon carboys.  One was going to follow the directions from the website, and the other was getting dry hopped. At first I was worried because I didn't have enough liquid to reach the neck of the carboys when separated, but after doing some research online it seemed not to be an issue with this wine due to its high acidity levels.  I am going to have to look into the chemistry of that sediment a bit more later, but I will admit that the wine does not taste in any way like it get oxygenated.  I had also bought a degaser wand and hooked that up to my drill.  I am thinking that helped to release a lot of carbon dioxide to create a blanket over the liquid.  I put a bung on right after degassing.

The degassing was done AFTER I stabilized the wine by adding potassium metabisulfate, which also works to remove oxygen from the wine, and potassium sorbate to halt any further fermentation when back sweetening. Since I knew that this wine was going to be served immediately once bottled and not last the summer or fall, I was okay with putting a shelf life on this wine by using the sorbate.  To top it all off, going for clarity, I added sparkolloid.

Ok, so I let that all sit for two more weeks.  The dry hopping was just done with 0.65g of Glacier hops that I got from Irish Rover, and those were added at the same time the Kmeta and Ksorbate were added.
Dry hopped batch.

Original recipe batch. Clear.

I got ready for bottling and went with a combination of glass and plastic screw top bottles from a Mr. Beer kit that a friend no longer wanted.  The intention of the plastic bottles was for my wife to take some of this on a float trip where glass was not allowed.
I just don't have time to remove the labels from all of my bottles...I am getting there.
All bottles were sanitized using Starsan, as well as the equipment.  Prior cleaning using an alkaline wash was done to remove any gunk from a previous batch.  PSA: Always check your spigots, and from time to time take them off and give them a GOOD cleaning.  Mine needed it, and got it.

Next came the tricky part of back sweetening.  I say tricky, because I was dealing with two factors.
  1. The SP website gives sugar amounts for one 5 gallon batch.  I have two batches now, and they are not equal amounts, nor were they of the same taste with one being dry hopped.
  2. The wife needed to approve.
So back sweetening with regular cane sugar, a cup to half a cup at a time, with taste testing between the wife and I was how I accomplished this task.  She likes it more sweet, I like it more tart...we met in the middle at a fantastic taste.

Original in all the brown bottles, SP caps were original, and SPH caps were the hopped ones.


I cannot say enough good things about this wine.  Everyone that has tried has really liked it.  My wife's friends on the float trip would agree, too.  The hopped version seems to be the overall winner.  It is not bitter hopped, it is a bit fruitier and the aroma has a bit of added citrus as well.  I am going to have to make 10 gallons of the next time(Round 2).  FINE BY ME!  Most likely I will split the batch at the secondary again, and do a 5gal hopped, 2.5gal with strawberries, and another 2.5 gal with grapefruit or cherries(cherry limeade anyone?).

Matuz

Wednesday, May 20, 2015

Skeeter Pee Round 1

I really do not like brewing during the summer time.  Well, not so much the actual brewing part, but the fermenting aspect.  Liquid in my basement will hover around 70F on its own.  Throw the metabolic reactions of the yeast cells and you have a recipe to overshoot your fermentation temperatures and receive off flavors.  Now there are some beers and wines that will do just fine with a 70F to 78F temperature  range, but I have an 8 week old, a two year old, finishing up my 2nd to last semester of graduate classes, along with work, so my time availability was limited.  I needed to scratch the itch, but I didn't have 4-6 hours of spare time.

Skeeter Pee ingredients minus the yeast energizer and tannin.

I have been eye-balling Skeeter Pee for about 2 years now.  This was the perfect time.  I could throw it all together in under an hour after the kids go to sleep.  The variability of Skeeter Pee, plus the ease, is what really attracted me to it.  It is well known among the home-brewing forums so I knew it was tried and tested.  I decided to go with the standard recipe for the first time, and maybe next time I will throw in something different to change the flavoring(I have seen blueberry, pineapple, cherry, lime, etc.)  The one thing I did not have was a yeast slurry, and I didn't want to spend the time making one with some apple juice or fruit concentrate.  It wouldn't have been hard, I have the stir plate and flasks, etc, but I just did not want to have to deal with it, and I had two packages of Montrachet yeast laying around...I figured two will be just fine....we'll see.

You can use most any yeast, a lot of people recommend Champagne yeast, Cotes de Blancs, or similar, but I just used what I had and it will offer me an ABV of up 13%, plenty high enough for me.

I cleaned AND sanitized my equipment.  I will post later on the differences of cleaning and sanitizing, but using just PBW or OneStep is not enough.  (Those are cleaners, not sanitizers.  You need an acid sanitizer like Star San to finish the job, but again, more on that later.)  While my equipment was sitting in the cleaner, after being scrubbed, I readied my invert sugar(simple sugar syrup).  My 8qt pot was just big enough to handle it all. While I waited for my super saturated solution to come to completion I moved from my cleaning stage to sanitizing and my wife, with a baby boy in one arm, took the whisk in other hand continued to stir and watch my pot on the stove...what a sweetie.

Almost done...keep this solution from boiling!  Just stay right under boiling temps!

I added my 1/3 cup of lemon juice from a container in the fridge, therefore not taking it from my 3-32 oz bottles.  I then let the solution cool a bit and dumped it in my fermenter with 2-32 oz bottles of lemon juice and enough water(tap, distilled, and purified left over from last brew) to top it off to 5.5 gallons.


I added the yeast nutrient and energizer to mugs worth of volume of a strong brewed tea to get my tannins since I had no tannins from the home-brew shop.

Yeast Nutrient was added to this solution.

That all went into the fermenter as well.  I then vigorously stirred for about 5 minutes to oxygenate and covered with a clean dish towel for 48 hours.  I don't have a wine whip so I just used my standard plastic paddle. The addition of the tea really did not make too much of a difference to the color.


After adjusting for temperature, my OG was 1.070...right on target.  No need to add granulated sugar.

After 48 hours I uncovered the must, stirred again, and threw in the two packets of yeast and stirred some more!  I added the lid, put on an s-lock, which I would generally use for secondary, but my 3-piece airlocks were in use, and walked away.


5/19/15 UPDATE

I went ahead and opened my lid to check fermentation since I did not see any bubbles coming out of my air lock.  Sure enough some fermentation had begun by the noticeable onset of bubbles at the top of the must.  The temperature on the bucket is registering at around 70-72F.  I quickly closed the lid and walked away.  I'll check the gravity Thursday or Friday night.  Following the directions, once I get around 1.050, I'll throw some more yeast nutrient and energizer in the bucket.  Stay tuned!

5/22/15 UPDATE

I checked the gravity and it was 1.048.  The last bit yeast nutrient and energizer, along with the last 32oz bottle of lemon juice was added.  I went ahead and agitated the must once more and shut the lid.  The s-lock was replaced with a 3-piece lock that I picked up today...because who doesn't need more airlocks?

I also tasted what had been fermented so far....and all I have to say, even with it all being almost half-way fermented....this is going to be a refreshing, perfect drink for the summer.  I cannot wait, and I am already thinking of doing another batch, with the addition of a different fruit to go along.

5/25/15 UPDATE

I checked the gravity, and it read 1.016.  Bubbling had also slowed down from a constant bubbling to a steady "blub....blub...blub".  I went ahead and clean and sanitized my carboy and equipment and racked the Skeeter Pee.  I also tasted it.  Yeasty right now, but that it to be expected.  Tart, with a slight sweetness and definitely on its way to being dry.  I can tell this is going to be a good hot summer day refreshment.  Manzi tasted some as well.

NOTE:  Make sure your bung and neck of carboy are DRY before you fit them together.  I freaked because my bung kept pushing out, until I slowed down my thinking and got logical.

Not very much yeast at the bottom of bucket.

With the flash on.

Without the flash on.

-Matuz


Sunday, June 12, 2011

New Hop Bines and Blackberries

Just wanted to post a few pictures I took today of my hops and blackberry bushes.  As I have said before, my hops have been kind of lacking in growth.  My Nugget just stopped growing, but the leaves were big and green. The Sterling quit growing, started to wilt, but some days it looked like it was coming back.  Both have begun new growth this past week.  Two new bines came out of the mulch from the Sterling, which I will tie to the rope, and new leaves have sprouted from both the Nugget and Sterling along with vertical growth in the Nugget.  All is well it seems.
New vertical growth on the Nugget

Two new bines coming out of the Sterling.  One in front and one in back.

Upclose of Sterling new growth.

You can see the different colors of green.  The new growth is lighter.  The old wilting growth is dark green.


    The blackberries are doing very well.  I am still looking for the proper wire for the trellis system.  Lowes did not have it, I may need to look at a contractors store.  Berries are growing and green.  See below.

Tripled in size since it was planted.


Flowers and berries about to bloom.


Largest bush so far....it direly needs a trellis.


That is all for now.
-Matuz-


Saturday, May 07, 2011

BrewTarget 1.2.3 Review

    I have decided to write a review of a brew software that I had come across a long time ago, but had disregarded due to my liking of Hopville.com so much.  I had recently signed up for BYOB magazine and I am liking the publication thus far.  In the most recent edition they did some small reviews of several brew programs on the market. Some were pay to use and others free.  The program that was both free and most highly rated of the free(and very close to the top when including the pay to use) was BrewTarget.
    For starters, I had been using online calculators coupled with Hopville's recipe calculator, along with notions form several books when developing my brewday schedule.  It always seemed like I was going three places to get one thing done.  After tinkering with BrewTarget, I can see myself doing some one stop shopping. Here is a list of items to help show you why:

  • Recipe Calculator
    • Already has grains, yeast, hops, and additives in a menu for you to easily choose. Includes descriptions of each, and allows you to modify the properties of the default do not suit.
  • Equipment Choices
    • Can choose to use some standard brewing equipment to use to help calculate wort volumes before and after boil, along with temperature loss.  
    • A lot of brewers have different setups so this was nice.  I put in our own setup in about 2 min.
  • Mash Schedule
    • You can choose to use a standard mash schedule that comes with the program, develop one your own, or use the Mash Wizard.  I used the wizard on my Oatmeal Stout....it came out VERY close to what I did the day I brewed it last fall.
Schedule prepared by the Mash Wizard.

  • The calculators it comes built in are also a huge plus.  No more going to my websites to find strike temps, carbonation amounts, etc.  BrewTarget comes with it all.  Including a Refractometer tool, Gravity scale correction, convert units, priming calculator, and my person favorite, the Yeast Pitch Rate tool.
  • Lastly, I wanted to mention the ability to export or import others recipes, and create a Brewday printout or a recipe printout.
  • Overall, my experiences with it so far have been great.  It is simple, yet handles some complex calculations with ease.  Allows for the beginner brewer to jump in and create a recipe, and the advanced brewer to tweak his recipes to more specific measurements and details.  The program can be as strict as you want, but at the same time very flexible.  And the fact that it is free, makes it all the better.  

Monday, May 02, 2011

We're Back!

It has been a long time since we have posted on this site.  It just kind of gotten away from us once the fall came around.  A lot of things came up in our lives that took more precedence over the blog, BUT I can proudly say we never stopped brewing!  In fact we may have actually increased our brewing in Fall 2010 over Fall 2009.  We made a lot of changes in how we brew and when we brew to correspond with the earthly temperatures.  It also fit in our personal/work schedules quite nice!  This blog post is going to be a doozy,  since I will be recapping from Fall 2010 until today.  Might as well start in order.

Back in October, really more so back in August of 2010 I, Matuz, signed up for a group called STLMalts.  It is ran by a guy named Kent Robertson, and if you live in the St. Louis, St. Charles, Jefferson County areas, I recommend signing up and getting your malts from him for some of the LOWEST prices you will ever see.  Going through Kent, we bought several sacks of grains and a grain mill.  This has lowered our cost per beer significantly, and we will no longer have to pay the price of shipping which can sometimes be 20% of the cost of the batch!  Since using these grains and crushing them ourselves on the day of the brewing, we have noticed an increase in hitting our O.G. measurements.  We have always been within range, but 3 batches in a row were right on the dot!  We are pretty excited about that.  Next step: Yeast Culturing...which brings me to my next update.

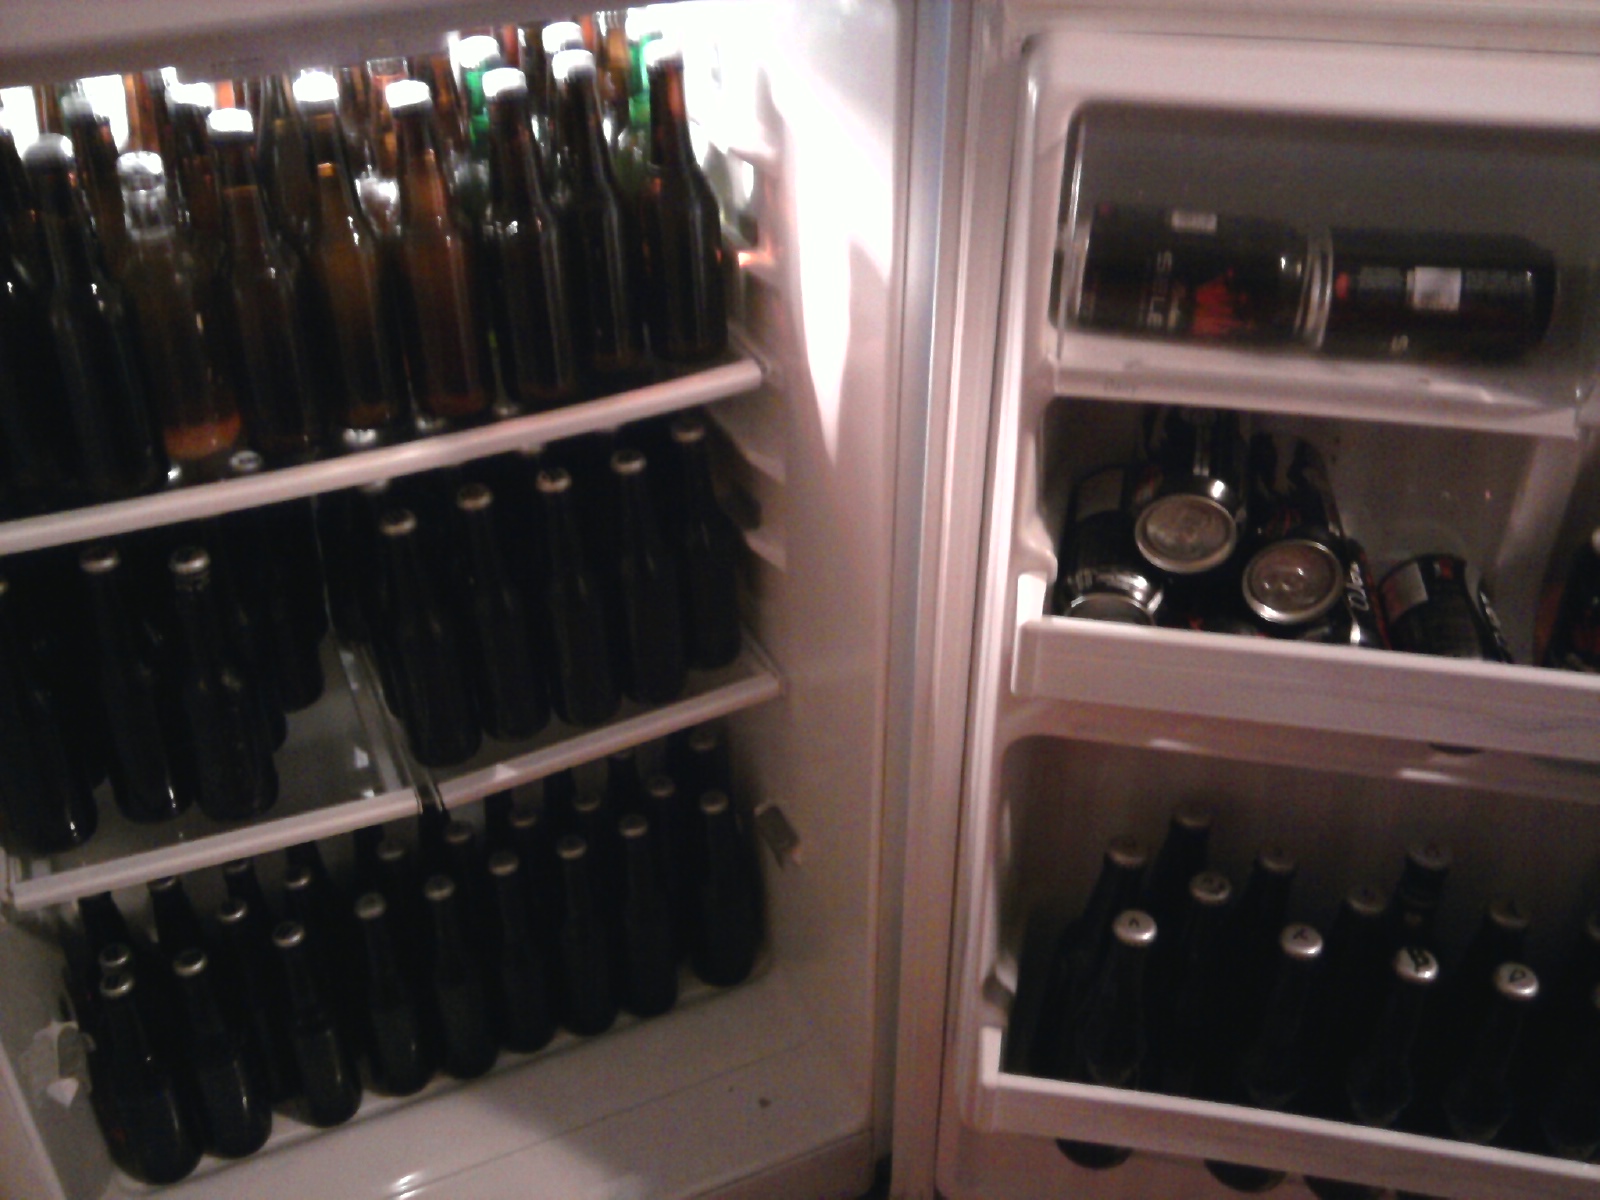
A BEER FRIDGE!  Craigslist is great.  I bought this fridge for $50 from a fellow brewer.  He told me the freezer part did not freeze, I thought that was great, it would just stay cool and I could store yeast cultures in there.  I was wrong...but in good way.  The freezer part did work, so I can't complain about something that is working, right?  So far we have this fridge, two college fridges, and a deep freeze(temp controlled) holding beer...oh and a kegerator with two kegs.  AND we STILL have beer that can't fit...why so much?  Well that brings me to my next update.
I swear the two Bud Selects in the pic are not for me
...but the Coke Zeros are!

We recently updated our brewing schedule to increase the efficiency of hitting our wanted taste,smells, and gravities by brewing only during the late fall, winter(mainly), and early spring.  We found that those seasons allowed for much more stable and desirable temperatures in our "Brew Haus" in the basement of Irish Rover. The temp controlled freezer helps out a lot, but that is mainly for lagering(lower temps than can be reached naturally), and conditioning.  We have discovered two things by planning our brews this way.

  1. Better brews.
  2. Allows time for more family/friend activities since we are brewing much more in less weekends.  Our summer is completely open! Along with most of fall, and most of spring was, too!
Finally, on my end, I will end with a little bit about what I have done recently at my new residence.  I just moved into my new house with my beautiful wife, and we have planted two hop rhizomes(Nugget and Sterling), and 6 semi-erect thornless blackberry plants.  The hops are doing great, and if we can get rid of this rainy weather they will take off even more.  Right now they are between 5-6 feet tall.  The blackberries may give us some fruit this year, but definitely more next year after they have taken hold.  Enjoy the photos and stick around for more updates about Antonio on Wine, Der Brauer on his grain and grape endeavours in Hermann, and Irish Rover winning Crown Valley Brewery and Distillery Porter category. 


Hastily prepared blackberry site.  Basically put them in and
covered in mulch...
                                                                                               
My wife helping me put the stone border around.

My dog, Scully, checking to make sure the stones are in the
proper locations.

View from the road.

So far so good! Bring on the sunlight!


-Matuz